Google OAuth
Creating a custom Google OAuth application
Step-by-step instructions below follow Google's documentation on setting up OAuth 2.0 for a web application.
Build the consent screen
- Create or select a project on the Google Cloud Platform Console.
- Navigate to the project's OAuth consent screen.
- Select whether your application is an internal or external app.
- Fill out the application name and support email.
- Add additional scopes required by your application, saving the full scope URI for later.
- Ensure that the
emailandprofilescopes are still selected. - Under Authorized domains, add
ngrok.comand your application homepage domain. - Add links to your application homepage and privacy policy. The final consent screen should resemble:
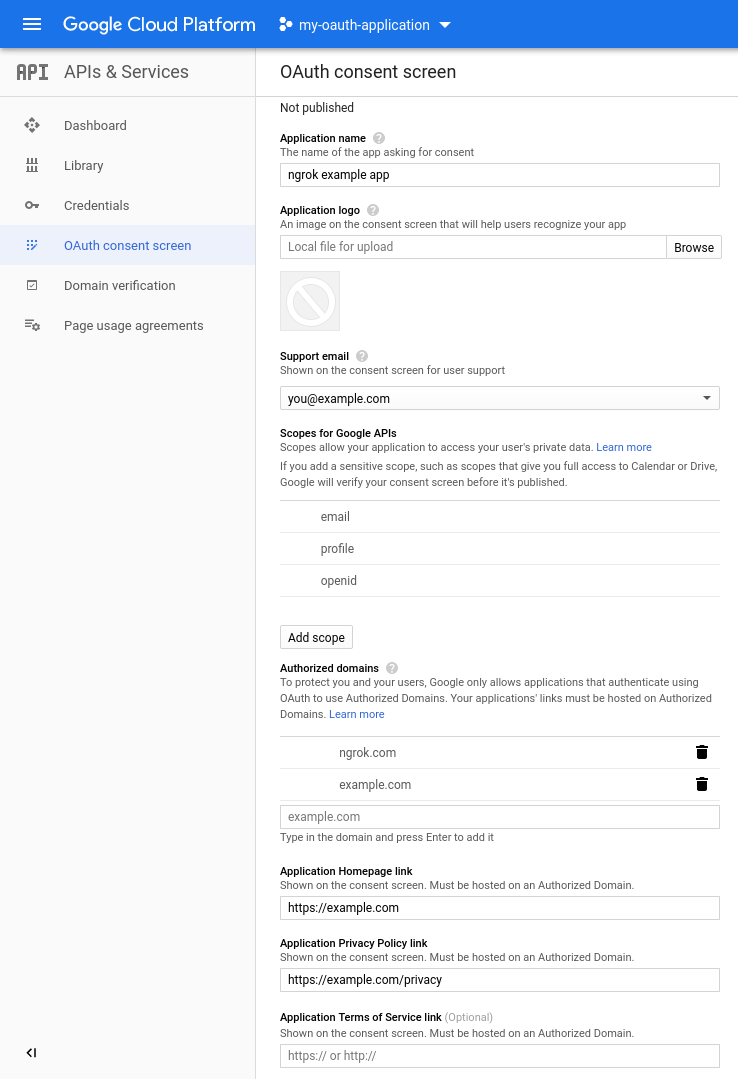
- Save the application.
- Applications that require verification cannot complete the consent screen and are not supported by ngrok.
Create credentials for ngrok
- Navigate to Credentials for your project.
- Select "Create credentials" from the top menu and select "OAuth Client ID".
- Choose "Web application" from the list of application types.
- Name your secret, then set "Authorized Redirect URIs" to
https://idp.ngrok.com/oauth2/callback. The final credentials form should resemble: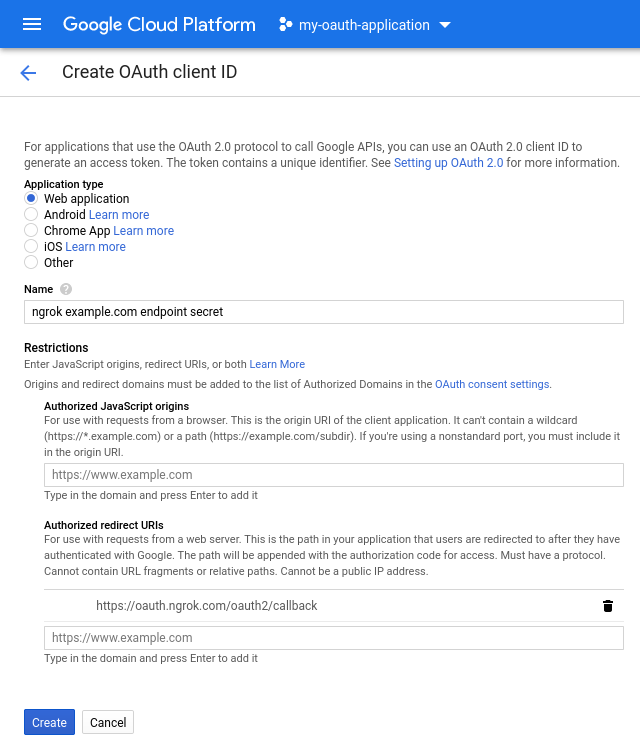
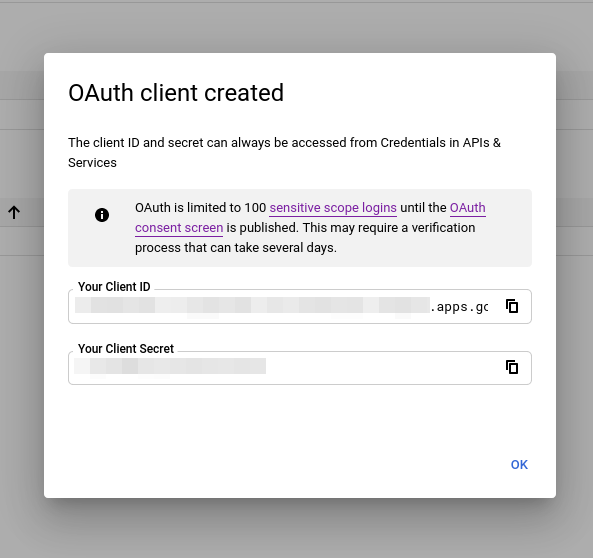
- Securely store the client ID and secret from the final screen:
Update your ngrok endpoint traffic policy
- Access the ngrok Dashboard Endpoints page and locate an existing endpoint you'd like to add this to or create a new one.
- In your traffic policy, add the following configuration:
- YAML
- JSON
Loading…
Loading…
- Click Save to validate and update your traffic policy.
Configure access control
Optionally, configure access control to your service by only allowing specific users or domains. For example:
- YAML
- JSON
Loading…
Loading…
Additional application setup information
- Google OAuth 2.0 Web Server (prerequisite steps)
- GCP Help: Setting up OAuth 2.0
- Google OAuth 2.0 workflow